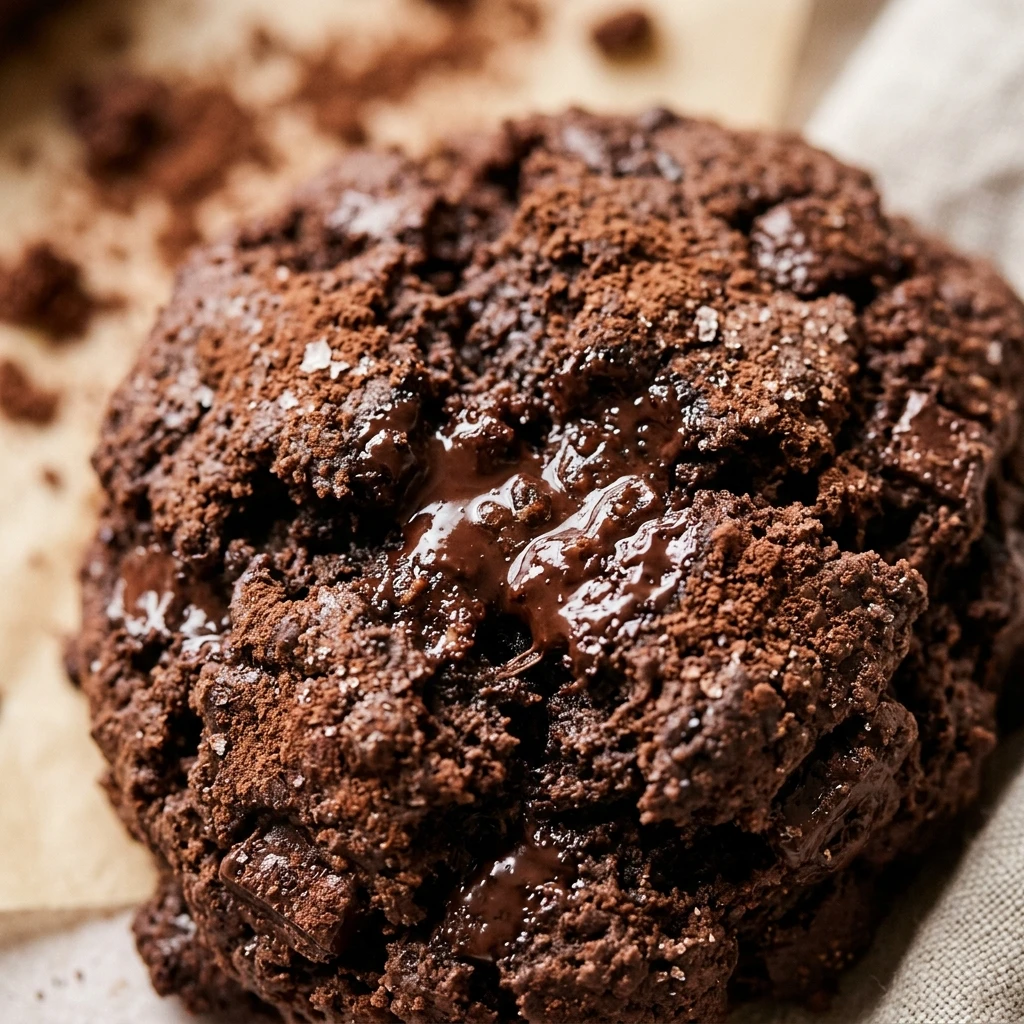

There is nothing quite like the aroma of freshly baked scones wafting through the kitchen on a lazy weekend morning. These chocolate scones are a true indulgence, combining the buttery, flaky texture of a traditional English scone with the deep, rich flavor of cocoa and melty chocolate chips. Whether you are hosting a sophisticated afternoon tea or simply looking for a decadent treat to pair with your morning coffee, this recipe is sure to become a household favorite.
Unlike many store-bought versions that can be dry or crumbly, these scones are perfectly moist on the inside with a delightful golden crunch on the outside. They are surprisingly easy to whip up, requiring only a few pantry staples and about thirty minutes of your time. Let’s dive into how you can create these chocolatey delights in your own home.
Recipe Information
- Prep Time: 15 minutes
- Cook Time: 18 minutes
- Total Time: 33 minutes
- Servings: 8 scones
- Difficulty Level: Easy
Nutrition Information
- Calories per serving: 385 kcal
- Protein: 6g
- Carbohydrates: 48g
- Fat: 19g
- Fiber: 3g
- Sugar: 22g
- Sodium: 340mg
Why Make This chocolate scone recipe
This chocolate scone recipe stands out because it offers a “double chocolate” experience. By using both high-quality cocoa powder in the dough and plenty of chocolate chips, every bite is packed with cocoa goodness. It is a versatile recipe that feels fancy enough for guests but is simple enough for a quick baking project with children.
Another reason to love this recipe is the texture. By using cold butter and heavy cream, we achieve those coveted flaky layers that define a great scone. They aren’t overly sweet, making them the perfect canvas for a bit of salted butter or a dollop of whipped cream.
How to Make chocolate scone recipe
Making these scones is a straightforward process that focuses on keeping your ingredients cold and handling the dough as little as possible. Follow these steps for the best results.
Ingredients
- 2 cups all-purpose flour
- 1/3 cup granulated sugar
- 1/3 cup unsweetened cocoa powder
- 1 tablespoon baking powder
- 1/2 teaspoon salt
- 1/2 cup unsalted butter, cold and cubed
- 3/4 cup semi-sweet chocolate chips
- 2/3 cup heavy cream (plus 1 tbsp for brushing)
- 1 large egg
- 1 teaspoon vanilla extract
- Optional: Coarse sugar for topping
Directions
Step 1: Preheat and Prepare
Preheat your oven to 400°F (200°C). Line a large baking sheet with parchment paper or a silicone baking mat to prevent the scones from sticking and to ensure even browning.
Step 2: Mix Dry Ingredients
In a large mixing bowl, whisk together the all-purpose flour, granulated sugar, cocoa powder, baking powder, and salt until well combined and there are no large lumps of cocoa.
Step 3: Cut in the Butter
Add the cold, cubed butter to the flour mixture. Using a pastry cutter or two forks, work the butter into the dry ingredients until the mixture resembles coarse crumbs with some pea-sized pieces of butter remaining. Stir in the chocolate chips.
Step 4: Whisk Wet Ingredients
In a separate small bowl, whisk together the heavy cream, egg, and vanilla extract until smooth.
Step 5: Combine to Form Dough
Pour the liquid mixture into the dry ingredients. Stir gently with a spatula just until the dough starts to come together. Do not overmix; the dough should look a bit shaggy.
Step 6: Shape and Cut
Turn the dough onto a lightly floured surface. Gently knead it 3 or 4 times just to bring it together into a ball. Pat the dough into an 8-inch disc about 1 inch thick. Use a sharp knife or a bench scraper to cut the disc into 8 equal wedges.
Step 7: Bake to Perfection
Place the wedges onto the prepared baking sheet. Brush the tops with a little extra heavy cream and sprinkle with coarse sugar if desired. Bake for 15 to 18 minutes, or until the edges are firm and the tops look set. Let them cool on the pan for 5 minutes before transferring to a wire rack.
How to Serve chocolate scone recipe
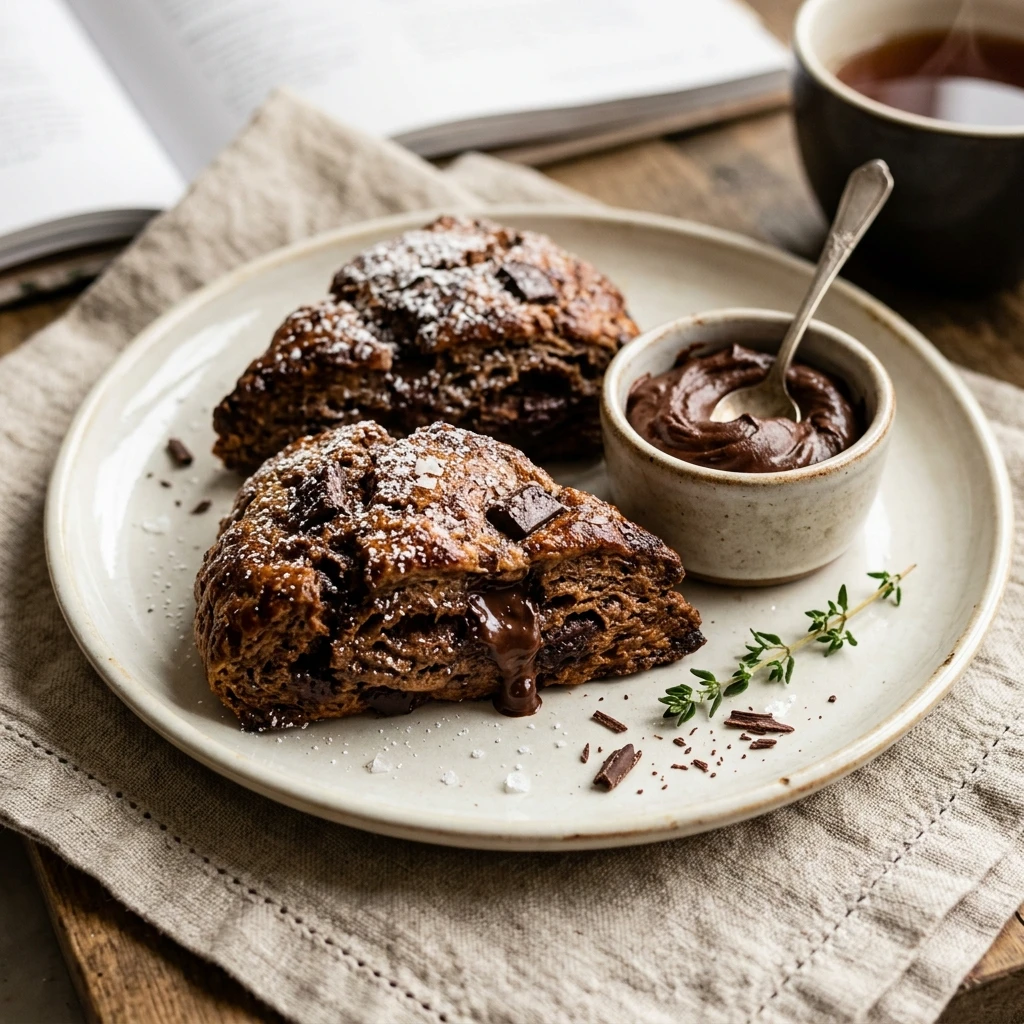
These scones are best served warm, shortly after they come out of the oven. You can serve them plain to let the chocolate flavor shine, or split them open and spread with a bit of high-quality salted butter. For a more traditional British experience, serve them with clotted cream and strawberry jam. They also pair wonderfully with a hot cup of Earl Grey tea or a frothy latte.
How to Store chocolate scone recipe
Store any leftover scones in an airtight container at room temperature for up to 2 days. If you want them to last longer, you can keep them in the refrigerator for up to 5 days. For long-term storage, freeze the baked scones in a freezer-safe bag for up to 3 months. To reheat, simply pop them in a 350°F oven for 5-8 minutes until warmed through.
Expert Tips for Perfect chocolate scone recipe
The most important tip for flaky scones is to keep your butter as cold as possible. Some bakers even like to grate frozen butter into the flour. Additionally, avoid overworking the dough; the more you handle it, the tougher the scones will become. If your kitchen is very warm, place the cut scone dough in the fridge for 15 minutes before baking to help them hold their shape.
Delicious Variations
For a different twist, try replacing the semi-sweet chocolate chips with white chocolate chips or peanut butter chips. You can also add half a cup of chopped walnuts or pecans for extra crunch. If you enjoy a hint of fruit, dried cherries or cranberries pair beautifully with the dark chocolate flavor.
Frequently Asked Questions
Q: Can I use milk instead of heavy cream?
While you can use whole milk, the scones will not be as rich or flaky. Heavy cream provides the fat content necessary for the best texture.
Q: Why didn’t my scones rise?
This is usually due to expired baking powder or overworking the dough, which develops too much gluten and prevents a light lift.
Q: Can I make the dough ahead of time?
Yes! You can shape the scones and keep them on the baking sheet in the refrigerator overnight, then bake them fresh in the morning.
Q: Do I need a food processor?
No, a food processor can actually lead to overmixing. Using your hands or a pastry cutter is the preferred method for scones.
Q: How do I know when they are done?
Since the dough is dark from cocoa, it can be hard to see browning. Touch the sides of a scone; if it feels firm and the top isn’t wobbly, they are done.
Conclusion
Baking homemade chocolate scones is a rewarding experience that brings a touch of bakery-style luxury to your home. With their rich cocoa base and pockets of melted chocolate, these treats are guaranteed to satisfy any sweet tooth. Give this recipe a try for your next brunch or afternoon snack, and enjoy the simple pleasure of a warm, buttery scone straight from the oven.

chocolate scone recipe

- Cook Time: 33 minutes
- Total Time: 33 minutes
- Diet: Vegetarian
Ingredients
- 2 cups all-purpose flour
- 1/3 cup granulated sugar
- 1/3 cup unsweetened cocoa powder
- 1 tablespoon baking powder
- 1/2 teaspoon salt
- 1/2 cup unsalted butter, cold and cubed
- 3/4 cup semi-sweet chocolate chips
- 2/3 cup heavy cream (plus 1 tbsp for brushing)
- 1 large egg
- 1 teaspoon vanilla extract
- Optional: Coarse sugar for topping
Instructions
- Preheat your oven to 400°F (200°C). Line a large baking sheet with parchment paper or a silicone baking mat to prevent the scones from sticking and to ensure even browning.
- In a large mixing bowl, whisk together the all-purpose flour, granulated sugar, cocoa powder, baking powder, and salt until well combined and there are no large lumps of cocoa.
- Add the cold, cubed butter to the flour mixture. Using a pastry cutter or two forks, work the butter into the dry ingredients until the mixture resembles coarse crumbs with some pea-sized pieces of butter remaining. Stir in the chocolate chips.
- In a separate small bowl, whisk together the heavy cream, egg, and vanilla extract until smooth.
- Pour the liquid mixture into the dry ingredients. Stir gently with a spatula just until the dough starts to come together. Do not overmix; the dough should look a bit shaggy.
- Turn the dough onto a lightly floured surface. Gently knead it 3 or 4 times just to bring it together into a ball. Pat the dough into an 8-inch disc about 1 inch thick. Use a sharp knife or a bench scraper to cut the disc into 8 equal wedges.
- Place the wedges onto the prepared baking sheet. Brush the tops with a little extra heavy cream and sprinkle with coarse sugar if desired. Bake for 15 to 18 minutes, or until the edges are firm and the tops look set. Let them cool on the pan for 5 minutes before transferring to a wire rack.