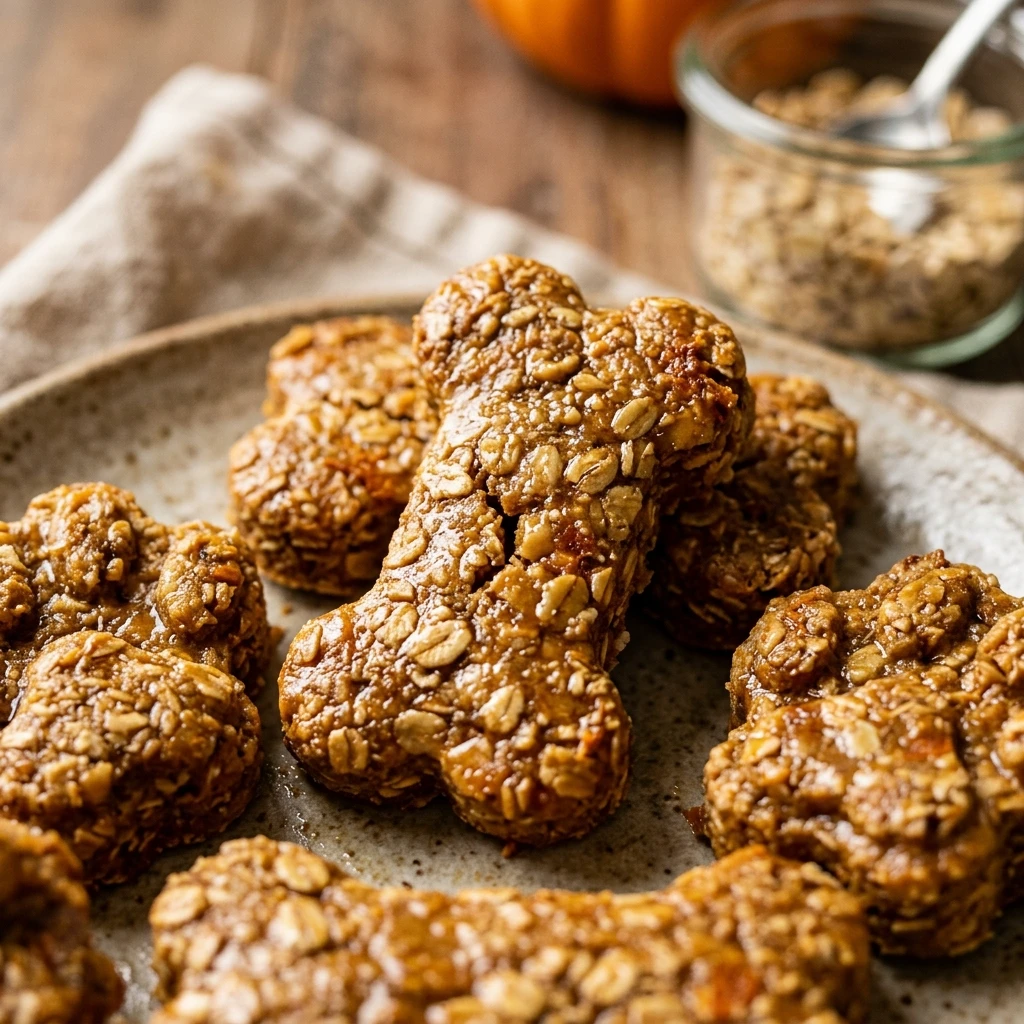

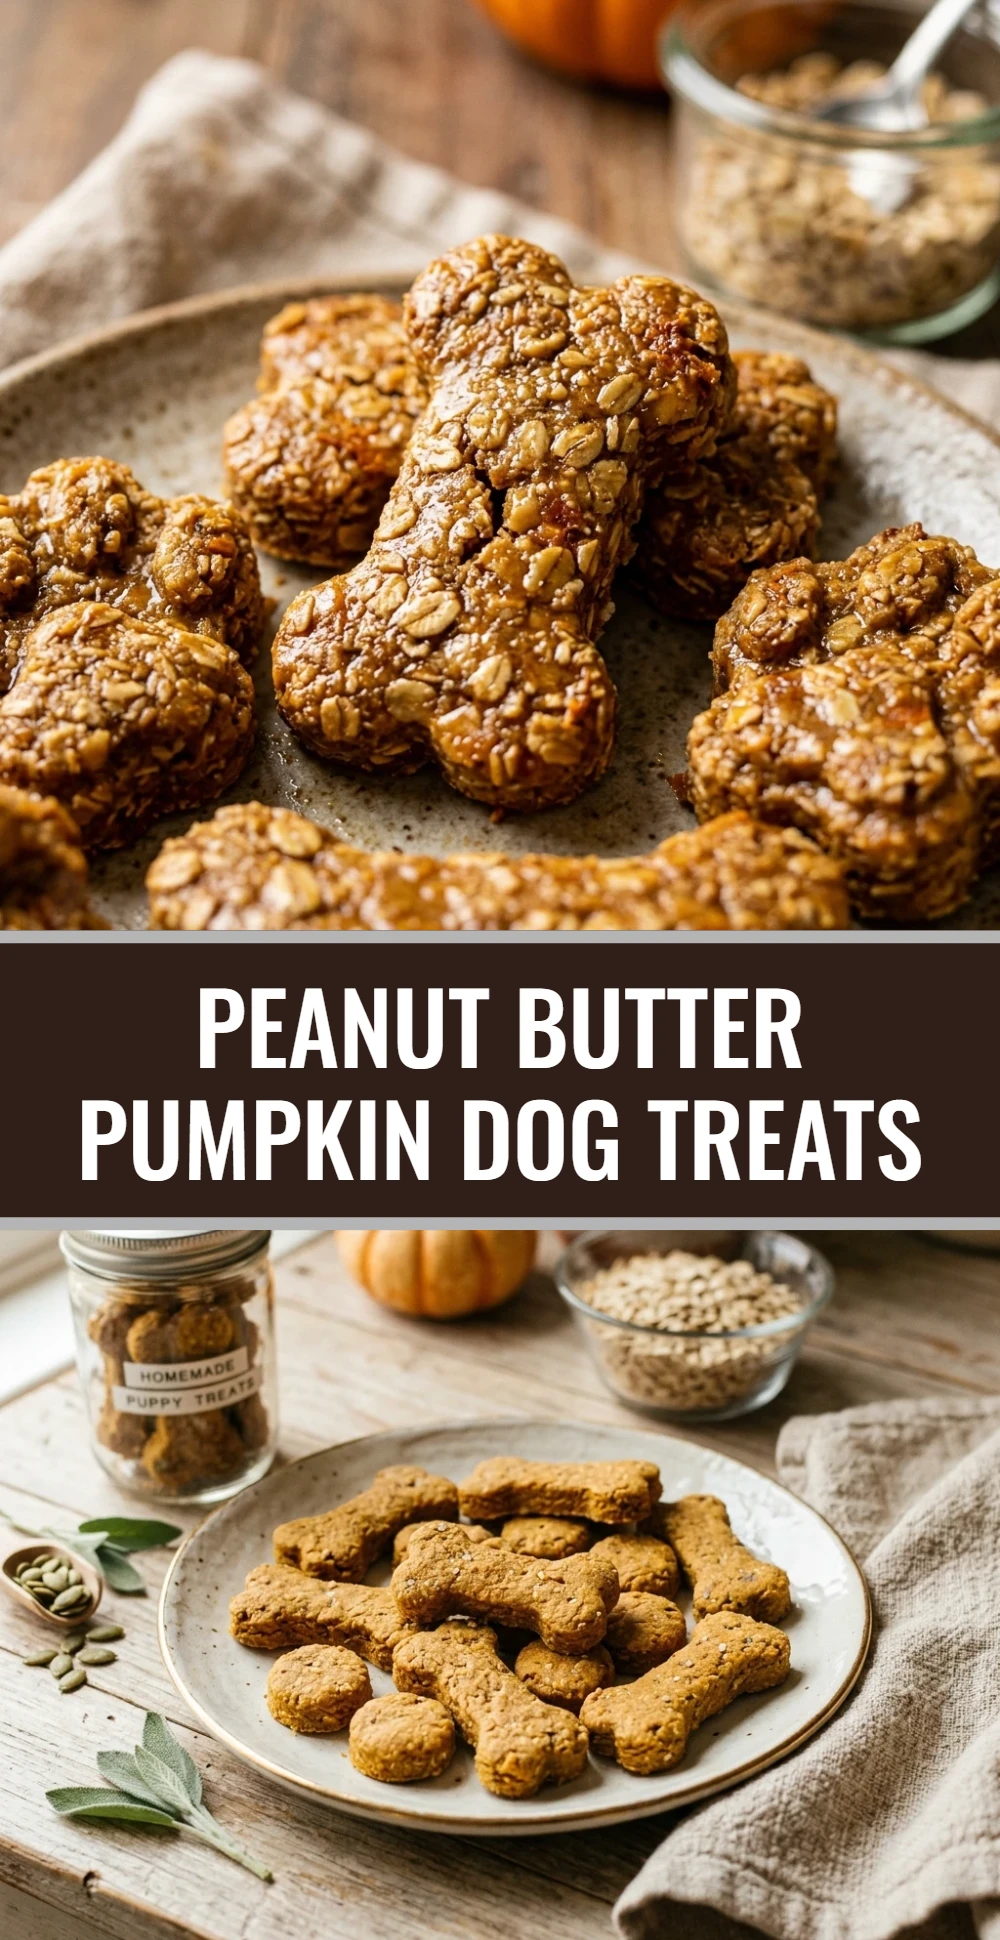
Every dog deserves a special homemade snack that is both healthy and delicious. These Peanut Butter Pumpkin Dog Treats are the ultimate way to show your furry friend some love. Made with simple, wholesome ingredients that you likely already have in your pantry, these treats are much better than store-bought options filled with preservatives. Your pup will surely come running the moment they smell these baking in the oven.
Not only are these treats tasty, but they are also packed with nutrients that benefit your dog’s health. Pumpkin is excellent for digestion, while peanut butter provides a great source of protein and healthy fats. Whether you are training a new puppy or just want to spoil your long-time companion, these crunchy biscuits are the perfect solution for any occasion.
Recipe Information
- Prep Time: 15 minutes
- Cook Time: 25 minutes
- Total Time: 40 minutes
- Servings: 24 treats
- Difficulty Level: Easy
Nutrition Information
- Calories per serving: 45 kcal
- Protein: 2g
- Carbohydrates: 6g
- Fat: 2g
- Fiber: 1g
- Sugar: 0.5g
- Sodium: 5mg
Why Make This Peanut Butter Pumpkin Dog Treats
Making your own dog treats gives you complete control over what your pet consumes. Many commercial treats contain artificial colors, fillers, and excess salt. By baking these at home, you ensure that your dog is getting high-quality fiber from the pumpkin and healthy nutrients from the eggs and flour. It is a cost-effective way to provide premium snacks for your pet.
Another great reason to make these treats is the bonding experience. Dogs love being in the kitchen when something smells this good! Plus, you can customize the size of the treats to fit your dog’s specific needs, making them smaller for training or larger for a satisfying afternoon snack. They are also a wonderful gift idea for fellow dog owners in your neighborhood.
How to Make Peanut Butter Pumpkin Dog Treats
Creating these treats is a straightforward process that requires only one bowl and a cookie cutter. You will start by creating a smooth base of wet ingredients before folding in the flour to create a workable dough. It is a foolproof recipe that even beginner bakers can master while keeping their kitchen clean and organized.
Ingredients
- 2 cups whole wheat flour (or oat flour for sensitive stomachs)
- 1/2 cup canned pumpkin puree (pure pumpkin, not pie filling)
- 2 large eggs
- 1/3 cup natural peanut butter (ensure it is Xylitol-free)
- 1/2 teaspoon ground cinnamon (optional)
- 1-2 tablespoons water (if dough is too dry)
Directions
Step 1: Preheat and Prepare
Preheat your oven to 350°F (175°C). Line a large baking sheet with parchment paper or a silicone baking mat to prevent the treats from sticking and to ensure even browning.
Step 2: Mix Wet Ingredients
In a large mixing bowl, whisk together the eggs, pumpkin puree, and peanut butter until the mixture is smooth and well-combined. Ensure there are no large lumps of peanut butter remaining.
Step 3: Add Dry Ingredients
Gradually stir in the whole wheat flour and cinnamon. Use a sturdy spoon or your hands to mix until a stiff dough forms. If the dough feels too crumbly, add a tablespoon of water at a time until it holds together.
Step 4: Roll and Cut
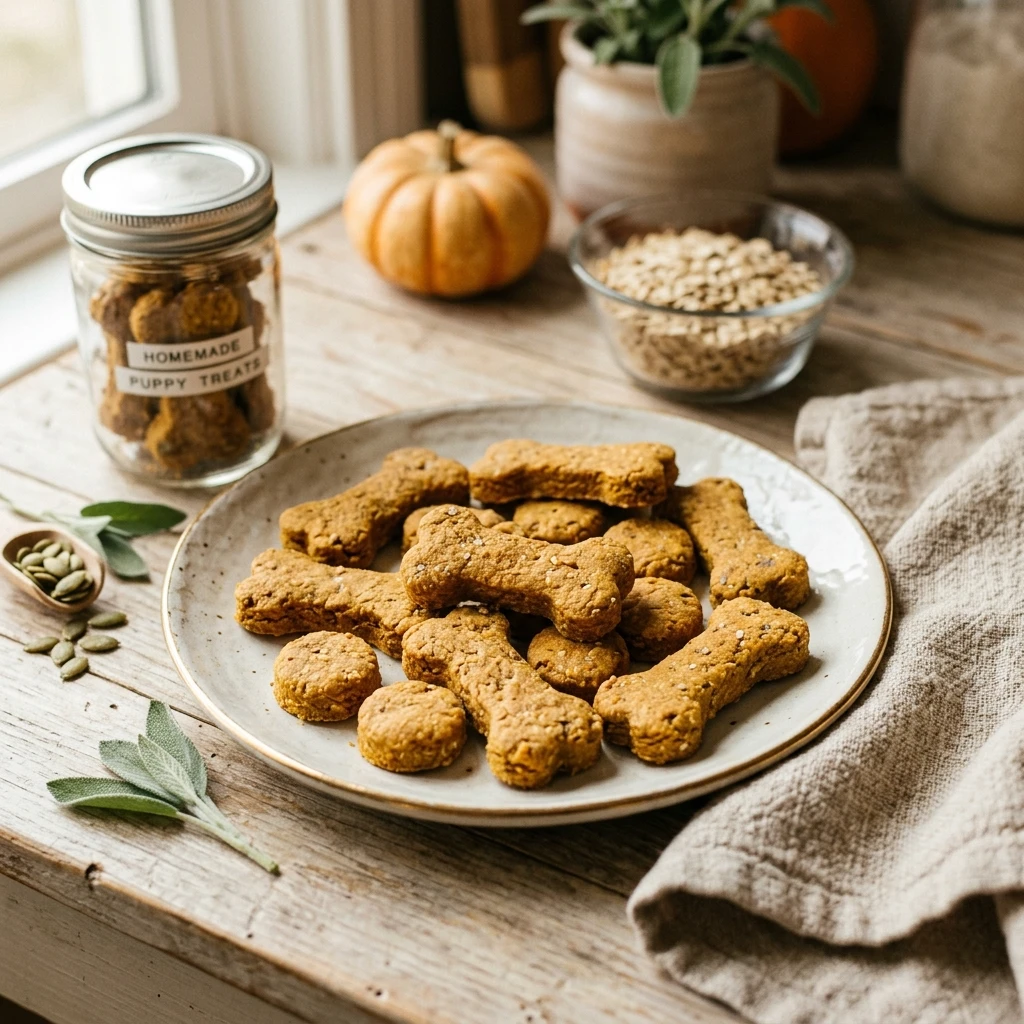
Lightly flour a clean surface. Roll the dough out to a thickness of about 1/4 inch. Use cookie cutters (bone shapes are a favorite!) to cut out the treats and place them onto the prepared baking sheet. You can place them close together as they do not spread much.
Step 5: Bake and Cool
Bake in the preheated oven for 20 to 25 minutes, or until the treats are golden brown and firm to the touch. Turn off the oven and let them sit inside for an extra 5-10 minutes if you want them extra crunchy. Remove from the oven and let them cool completely on a wire rack.
How to Serve Peanut Butter Pumpkin Dog Treats
Always wait until the treats have cooled completely before giving them to your dog to avoid burning their mouth. Serve one or two treats at a time as a reward for good behavior or as a special snack. Remember that treats should only make up about 10% of your dog’s daily caloric intake, so adjust their meal portions accordingly if they have had a busy day of snacking.
How to Store Peanut Butter Pumpkin Dog Treats
Store these treats in an airtight container at room temperature for up to 7 days. Because they do not contain preservatives, they can spoil faster than store-bought brands. For longer freshness, keep them in the refrigerator for up to 2 weeks. If you want to make a large batch, these treats freeze beautifully for up to 3 months; just thaw a few at a time as needed.
Expert Tips for Perfect Peanut Butter Pumpkin Dog Treats
The most important tip is to check your peanut butter label carefully. Ensure it does not contain Xylitol (also known as birch sugar), which is a sweetener that is highly toxic to dogs. Use plain, natural peanut butter whenever possible. Also, if your dog has a wheat allergy, you can easily swap the whole wheat flour for oat flour or brown rice flour for a gluten-free alternative.
Delicious Variations
You can mix up this recipe by adding a tablespoon of flaxseeds or chia seeds for extra Omega-3 fatty acids. If your dog loves a bit of texture, you can add finely shredded carrots or chopped parsley to the dough. For a “frosting” effect, you can drizzle a tiny bit of melted coconut oil over the cooled treats and let it harden in the fridge before serving.
Frequently Asked Questions
Q: Can I use pumpkin pie filling instead of pumpkin puree?
No, you should never use pumpkin pie filling as it contains sugar, spices, and sometimes Xylitol, which can be harmful to dogs. Always use 100% pure canned pumpkin or fresh steamed pumpkin.
Q: My dog has a sensitive stomach, is this recipe safe?
Generally, pumpkin and peanut butter are very gentle on the stomach. However, if your dog is sensitive to wheat, try using oat flour instead. Always introduce new treats slowly.
Q: How do I know when the treats are done?
The treats should feel hard and dry to the touch. If they are still soft, they may mold faster during storage. A longer bake at a slightly lower temperature can help them get that classic biscuit crunch.
Q: Can humans eat these treats too?
Yes! All the ingredients are human-grade. They might be a bit bland for your taste since there is no added sugar or salt, but they are perfectly safe to snack on with your pup.
Q: Can I use a different nut butter?
Almond butter is a safe alternative for dogs, but avoid macadamia nut butter as macadamia nuts are toxic to dogs. Again, always check for Xylitol on the ingredient list.
Conclusion
Baking for your dog is a rewarding experience that ensures your pet is eating the best possible food. These Peanut Butter Pumpkin Dog Treats are simple to make, highly nutritious, and guaranteed to result in a wagging tail. Once you see how much your dog loves these homemade biscuits, you may never go back to buying treats from the store again. Happy baking!
Peanut Butter Pumpkin Dog Treats
- Cook Time: 40 minutes
- Total Time: 40 minutes
- Diet: Vegetarian, Gluten-Free Option Mentioned
Ingredients
- 2 cups whole wheat flour (or oat flour for sensitive stomachs)
- 1/2 cup canned pumpkin puree (pure pumpkin, not pie filling)
- 2 large eggs
- 1/3 cup natural peanut butter (ensure it is Xylitol-free)
- 1/2 teaspoon ground cinnamon (optional)
- 1–2 tablespoons water (if dough is too dry)
Instructions
- Step 1: Preheat and Prepare: Preheat your oven to 350°F (175°C). Line a large baking sheet with parchment paper or a silicone baking mat to prevent the treats from sticking and to ensure even browning.
- Step 2: Mix Wet Ingredients: In a large mixing bowl, whisk together the eggs, pumpkin puree, and peanut butter until the mixture is smooth and well-combined. Ensure there are no large lumps of peanut butter remaining.
- Step 3: Add Dry Ingredients: Gradually stir in the whole wheat flour and cinnamon. Use a sturdy spoon or your hands to mix until a stiff dough forms. If the dough feels too crumbly, add a tablespoon of water at a time until it holds together.
- Step 4: Roll and Cut: Lightly flour a clean surface. Roll the dough out to a thickness of about 1/4 inch. Use cookie cutters (bone shapes are a favorite!) to cut out the treats and place them onto the prepared baking sheet. You can place them close together as they do not spread much.
- Step 5: Bake and Cool: Bake in the preheated oven for 20 to 25 minutes, or until the treats are golden brown and firm to the touch. Turn off the oven and let them sit inside for an extra 5-10 minutes if you want them extra crunchy. Remove from the oven and let them cool completely on a wire rack.