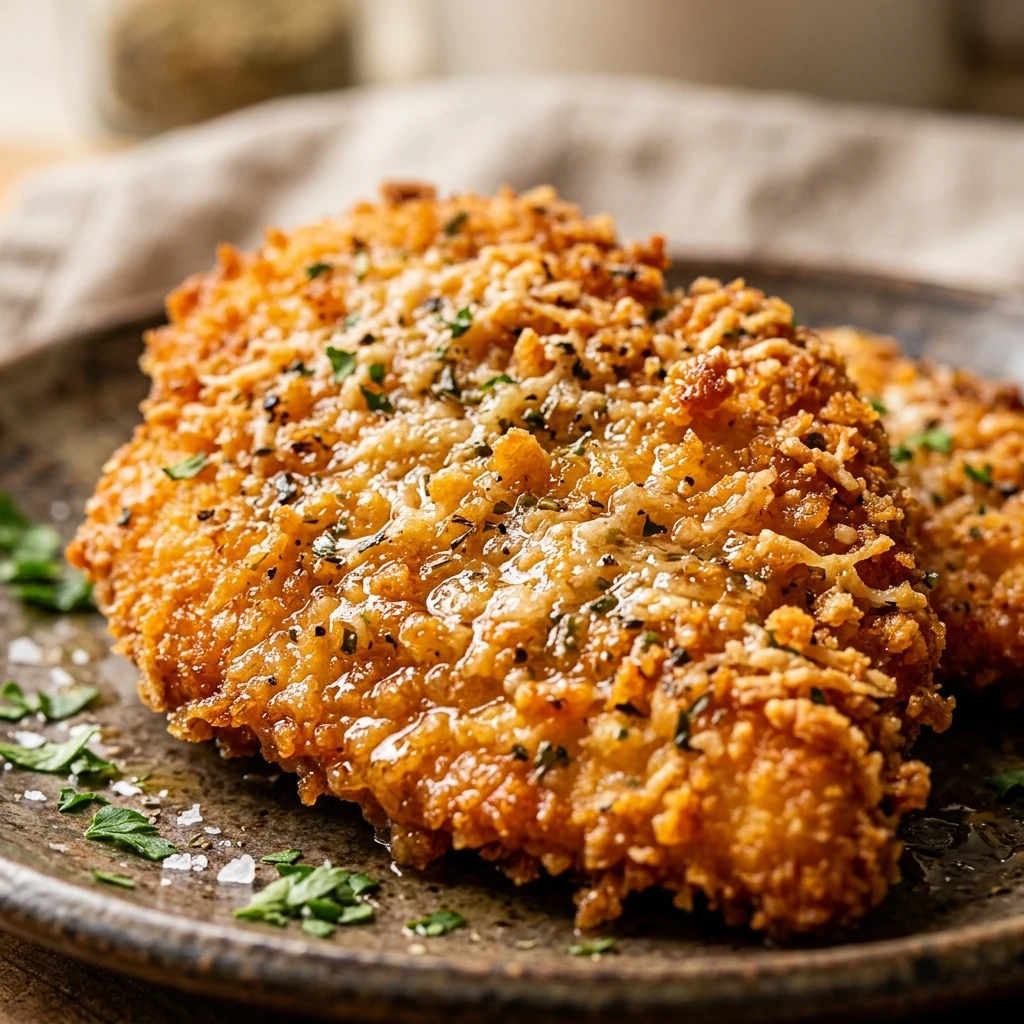

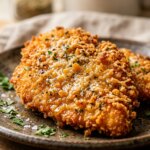
There is nothing quite like a perfectly golden, crispy chicken cutlet to make a weeknight dinner feel special. These Crispy Parmesan Chicken Cutlets are a household staple for a reason. They offer a satisfying crunch on the outside while remaining incredibly tender and juicy on the inside. The salty kick from the Parmesan cheese mixed with seasoned breadcrumbs creates a flavor profile that both kids and adults absolutely love.
Whether you are looking for a quick meal after a long workday or a versatile protein to pair with your favorite pasta, this recipe delivers every time. It is straightforward, uses simple pantry staples, and results in a restaurant-quality dish in just about half an hour. Once you master the simple breading technique, you will find yourself reaching for this recipe week after week.
Recipe Information
- Prep Time: 15 minutes
- Cook Time: 15 minutes
- Total Time: 30 minutes
- Servings: 4
- Difficulty Level: Easy
Nutrition Information
- Calories per serving: 385
- Protein: 36g
- Carbohydrates: 18g
- Fat: 19g
- Fiber: 1g
- Sugar: 1g
- Sodium: 620mg
Why Make This Crispy Parmesan Chicken Cutlets
This recipe is a winner because it balances texture and taste perfectly. The addition of Parmesan cheese directly into the breading provides a savory, nutty depth that regular breadcrumbs alone simply cannot achieve. It creates a crust that stays crispy even after it sits for a few minutes, making it ideal for family dinners where everyone might not sit down at the exact same moment.
Furthermore, these cutlets are incredibly versatile. You can serve them as a main course with a side of roasted vegetables, slice them over a fresh Caesar salad, or even tuck them into a toasted roll for the ultimate chicken sandwich. Because they cook so quickly, they are the perfect solution for busy schedules without sacrificing the comfort of a home-cooked meal.
How to Make Crispy Parmesan Chicken Cutlets
Making these cutlets is all about the “standard breading procedure.” By setting up a simple station, you can move through the process efficiently and ensure every piece of chicken is perfectly coated for maximum crunch.
Ingredients
- 2 large boneless, skinless chicken breasts (sliced into thin cutlets)
- 1/2 cup all-purpose flour
- 2 large eggs, beaten
- 1 cup Panko breadcrumbs
- 1/2 cup grated Parmesan cheese
- 1 teaspoon garlic powder
- 1/2 teaspoon onion powder
- 1/2 teaspoon dried oregano
- Salt and black pepper to taste
- 1/4 cup olive oil or vegetable oil for frying
- Lemon wedges for serving
Directions
Step 1: Prepare the Chicken
Start by slicing your chicken breasts in half horizontally to create thin cutlets. If the pieces are uneven, place them between two sheets of plastic wrap and gently pound them with a meat mallet or a heavy skillet until they are an even 1/4-inch thickness. Season both sides of the chicken generously with salt and pepper.
Step 2: Set Up the Breading Station
Get three shallow bowls ready. In the first bowl, place the all-purpose flour. In the second bowl, whisk the eggs with a splash of water. In the third bowl, combine the Panko breadcrumbs, grated Parmesan cheese, garlic powder, onion powder, and dried oregano. Stir the breadcrumb mixture well to ensure the cheese and spices are evenly distributed.
Step 3: Coat the Chicken
Working with one cutlet at a time, dredge the chicken in the flour, shaking off any excess. Next, dip the chicken into the egg wash, ensuring it is fully submerged. Finally, press the chicken into the Parmesan-breadcrumb mixture, coating both sides thoroughly. Press down firmly so the crumbs adhere well to the meat.
Step 4: Fry Until Golden
Heat the oil in a large skillet over medium-high heat. Once the oil is shimmering, carefully place two cutlets in the pan. Do not overcrowd the skillet. Fry for 3 to 4 minutes per side, or until the crust is a deep golden brown and the internal temperature reaches 165°F (74°C). Repeat with the remaining cutlets, adding a little more oil if necessary.
Step 5: Rest and Serve
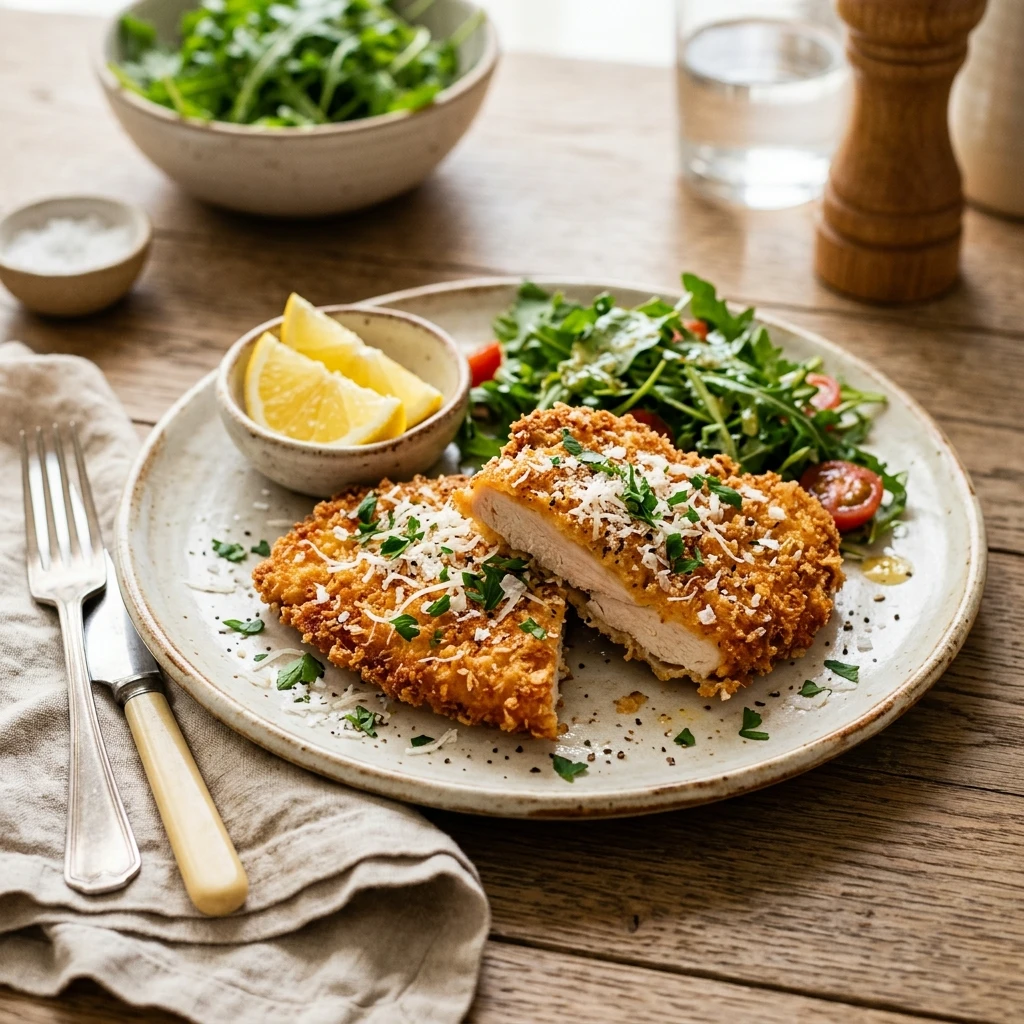
Transfer the cooked chicken to a plate lined with paper towels or a wire rack to drain any excess oil. Let the meat rest for 2 to 3 minutes to keep the juices inside. Serve immediately with fresh lemon wedges for a bright, acidic finish.
How to Serve Crispy Parmesan Chicken Cutlets
These cutlets pair beautifully with a variety of sides. For a classic Italian-American feel, serve them alongside a pile of spaghetti tossed in marinara or a light garlic and oil sauce. If you want something lighter, a crisp arugula salad with a simple lemon vinaigrette complements the richness of the fried chicken perfectly. They are also wonderful served with mashed potatoes and steamed green beans for a traditional comfort meal.
How to Store Crispy Parmesan Chicken Cutlets
To store leftovers, allow the chicken to cool completely before placing the cutlets in an airtight container. They will stay fresh in the refrigerator for up to 3 to 4 days. To maintain the crispy texture when reheating, avoid the microwave. Instead, place the cutlets on a baking sheet and heat them in a 350°F (175°C) oven for about 10 minutes, or until warmed through and crisp again.
Expert Tips for Perfect Crispy Parmesan Chicken Cutlets
One of the best tips for extra crispy chicken is to use Panko breadcrumbs instead of traditional fine breadcrumbs. Panko has a larger surface area that creates more crunch. Also, make sure your oil is hot enough before adding the chicken; if the oil is too cold, the breading will soak up the grease and become soggy. Lastly, don’t skip the lemon wedges! A squeeze of fresh lemon juice right before eating cuts through the richness of the cheese and oil.
Delicious Variations
You can easily customize this recipe to suit your tastes. For a spicy kick, add a half teaspoon of red pepper flakes or cayenne pepper to the breadcrumb mixture. If you want a more herbal flavor, swap the dried oregano for fresh chopped parsley or basil. For those avoiding gluten, you can use gluten-free flour and gluten-free Panko crumbs with excellent results. You can also make “Chicken Parmesan” by topping the fried cutlets with marinara and mozzarella and melting them under the broiler for 2 minutes.
Frequently Asked Questions
Q: Can I make these in an air fryer?
Yes! Lightly spray the breaded cutlets with oil and cook in the air fryer at 400°F for about 10-12 minutes, flipping halfway through, until golden and cooked through.
Q: How do I know when the chicken is finished cooking?
The best way to tell is by using an instant-read meat thermometer. The chicken is safe and juicy when it reaches an internal temperature of 165°F (74°C).
Q: Why is my breading falling off the chicken?
This usually happens if the chicken was too wet before the flour stage or if you didn’t press the breadcrumbs firmly into the meat. Make sure to pat the chicken dry with paper towels before starting the breading process.
Q: Can I freeze these cutlets?
Absolutely. You can freeze them either raw (after breading) or cooked. Layer them with parchment paper in a freezer bag. If raw, fry them directly from frozen, adding a few extra minutes to the cook time.
Q: What is the best oil to use for frying?
Any oil with a high smoke point works well. Olive oil adds great flavor, but vegetable oil, canola oil, or grapeseed oil are also excellent choices for achieving a golden crust.
Conclusion
These Crispy Parmesan Chicken Cutlets are the ultimate crowd-pleaser. With their golden, cheesy crust and tender interior, they bring a touch of elegance to a simple meal. Whether you’re cooking for a busy family or hosting a casual dinner with friends, this recipe is sure to be a hit. Enjoy the process of creating something so delicious from scratch, and don’t forget that final squeeze of lemon!
Crispy Parmesan Chicken Cutlets
- Cook Time: 30 minutes
- Total Time: 30 minutes
- Diet: High-Protein
Ingredients
- 2 large boneless, skinless chicken breasts (sliced into thin cutlets)
- 1/2 cup all-purpose flour
- 2 large eggs, beaten
- 1 cup Panko breadcrumbs
- 1/2 cup grated Parmesan cheese
- 1 teaspoon garlic powder
- 1/2 teaspoon onion powder
- 1/2 teaspoon dried oregano
- Salt and black pepper to taste
- 1/4 cup olive oil or vegetable oil for frying
- Lemon wedges for serving
Instructions
- Start by slicing your chicken breasts in half horizontally to create thin cutlets. If the pieces are uneven, place them between two sheets of plastic wrap and gently pound them with a meat mallet or a heavy skillet until they are an even 1/4-inch thickness. Season both sides of the chicken generously with salt and pepper.
- Get three shallow bowls ready. In the first bowl, place the all-purpose flour. In the second bowl, whisk the eggs with a splash of water. In the third bowl, combine the Panko breadcrumbs, grated Parmesan cheese, garlic powder, onion powder, and dried oregano. Stir the breadcrumb mixture well to ensure the cheese and spices are evenly distributed.
- Working with one cutlet at a time, dredge the chicken in the flour, shaking off any excess. Next, dip the chicken into the egg wash, ensuring it is fully submerged. Finally, press the chicken into the Parmesan-breadcrumb mixture, coating both sides thoroughly. Press down firmly so the crumbs adhere well to the meat.
- Heat the oil in a large skillet over medium-high heat. Once the oil is shimmering, carefully place two cutlets in the pan. Do not overcrowd the skillet. Fry for 3 to 4 minutes per side, or until the crust is a deep golden brown and the internal temperature reaches 165°F (74°C). Repeat with the remaining cutlets, adding a little more oil if necessary.
- Transfer the cooked chicken to a plate lined with paper towels or a wire rack to drain any excess oil. Let the meat rest for 2 to 3 minutes to keep the juices inside. Serve immediately with fresh lemon wedges for a bright, acidic finish.