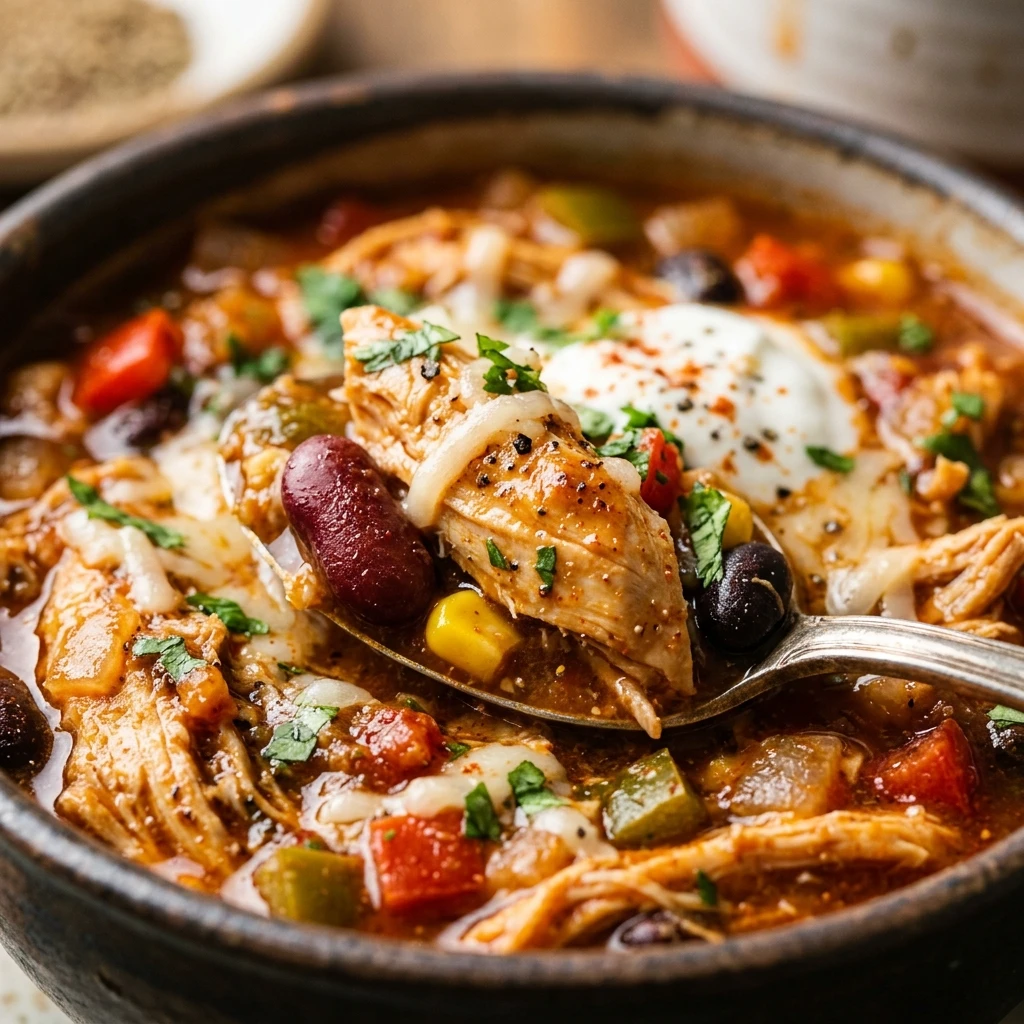

Finding a meal that is both incredibly satisfying and packed with muscle-building protein can be a challenge, but this High Protein Chicken Chili hits all the right notes. Whether you are looking for a post-workout refuel or a cozy family dinner that keeps everyone full, this recipe is a nutritional powerhouse. It combines lean chicken, fiber-rich beans, and a blend of aromatic spices to create a thick, hearty bowl of goodness.
This chili is designed for busy people who don’t want to sacrifice health for flavor. It is remarkably easy to whip up in a single pot, making it a favorite for weeknight meals. Plus, the leftovers taste even better the next day as the spices continue to meld. Get ready to add a new staple to your healthy eating rotation that feels like a cheat meal but fits perfectly into your fitness goals.
Recipe Information
- Prep Time: 15 minutes
- Cook Time: 35 minutes
- Total Time: 50 minutes
- Servings: 6 servings
- Difficulty Level: Easy
Nutrition Information
- Calories per serving: 345 kcal
- Protein: 38g
- Carbohydrates: 29g
- Fat: 8g
- Fiber: 9g
- Sugar: 5g
- Sodium: 680mg
Why Make This High Protein Chicken Chili
The main reason to make this dish is the incredible protein-to-calorie ratio. By using lean chicken and a variety of beans, you get a massive dose of protein that aids in muscle recovery and keeps you feeling full for hours. Unlike beef-based chilis that can be heavy in saturated fats, this version is light yet dense with nutrients, making it heart-healthy and weight-loss friendly.
Another great reason is its versatility. This chili is highly customizable and works well for meal prep. You can make a large batch on Sunday and have high-protein lunches ready for the entire week. It freezes beautifully and requires very little hands-on time, allowing you to focus on your busy schedule while your dinner simmers to perfection.
How to Make High Protein Chicken Chili
Making this chili is a straightforward process that involves building layers of flavor in a single pot. You will start by softening your aromatics, browning the protein, and then letting everything simmer together until the texture is thick and the flavors are bold. Follow these simple steps for a perfect result every time.
Ingredients
- 1.5 lbs ground chicken or finely diced chicken breast
- 1 large yellow onion, diced
- 3 cloves garlic, minced
- 1 bell pepper (any color), chopped
- 1 can (15 oz) black beans, drained and rinsed
- 1 can (15 oz) white cannellini beans, drained and rinsed
- 1 can (14.5 oz) fire-roasted diced tomatoes
- 1 can (4 oz) chopped green chiles
- 2 cups low-sodium chicken broth
- 2 tbsp chili powder
- 1 tbsp ground cumin
- 1 tsp smoked paprika
- 1/2 tsp dried oregano
- Salt and black pepper to taste
- 1 tbsp olive oil
Directions
Step 1: Sauté the Vegetables
Heat the olive oil in a large pot or Dutch oven over medium heat. Add the diced onion and bell pepper. Sauté for about 5 to 7 minutes until the onions are translucent and the peppers have softened. Stir in the minced garlic and cook for another 60 seconds until fragrant.
Step 2: Brown the Chicken
Add the ground chicken (or diced chicken breast) to the pot. Use a wooden spoon to break the meat apart. Cook until the chicken is fully browned and no longer pink. Season the meat lightly with salt and pepper during this process to ensure flavor in every layer.
Step 3: Add Spices and Aromatics
Sprinkle the chili powder, cumin, smoked paprika, and oregano over the meat and vegetable mixture. Stir well for 1-2 minutes to “toast” the spices, which helps release their essential oils and deepens the overall flavor of the chili.
Step 4: Combine and Simmer
Pour in the diced tomatoes, green chiles, black beans, white beans, and chicken broth. Stir everything together and bring the mixture to a gentle boil. Once boiling, reduce the heat to low and let it simmer uncovered for 20-25 minutes. This allows the liquid to reduce and the chili to thicken naturally.
Step 5: Final Seasoning
Taste the chili and adjust the salt and pepper if needed. If you prefer a thicker consistency, you can mash a few of the beans against the side of the pot with your spoon. Serve warm with your favorite toppings.
How to Serve High Protein Chicken Chili
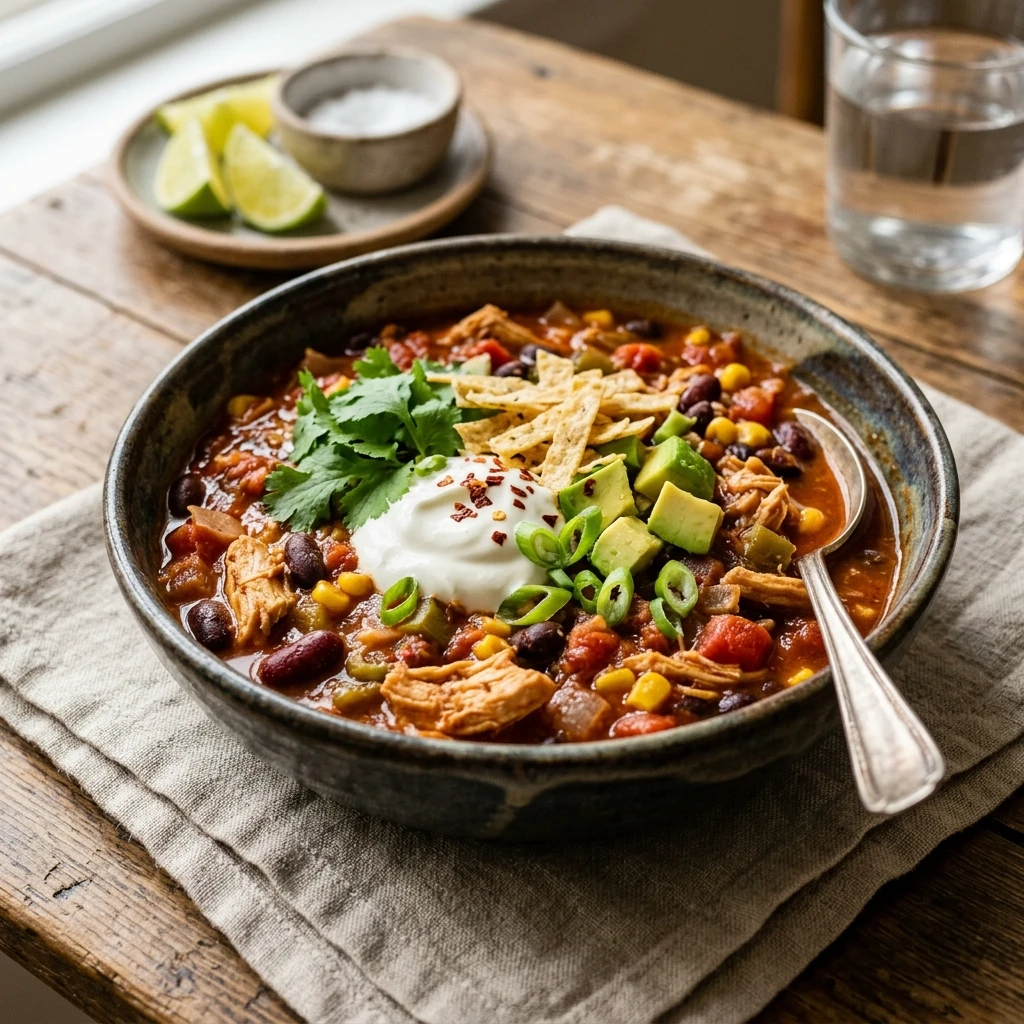
To keep the protein content high, serve this chili with a dollop of plain non-fat Greek yogurt instead of sour cream; it tastes remarkably similar but adds a protein boost. Top with fresh cilantro, sliced jalapeños for heat, and a squeeze of lime juice to brighten the flavors. For a bit of healthy fat, add some diced avocado. If you need extra carbs, it pairs perfectly with a side of cornbread or over a small bed of brown rice.
How to Store High Protein Chicken Chili
This chili is excellent for storage. Place leftovers in airtight containers and keep them in the refrigerator for up to 4 to 5 days. For longer storage, this recipe is freezer-friendly. Let the chili cool completely before transferring it to freezer-safe bags or containers. It will stay fresh in the freezer for up to 3 months. To reheat, simply thaw overnight in the fridge and warm it up on the stovetop or in the microwave.
Expert Tips for Perfect High Protein Chicken Chili
For the best texture, don’t drain the diced tomatoes; the juice adds a lot of depth to the broth. If you want an even thicker chili, try adding a tablespoon of tomato paste during Step 3. Another tip is to use fire-roasted tomatoes instead of regular ones for a subtle smoky flavor that complements the cumin and paprika perfectly. Lastly, if you are using chicken breast instead of ground chicken, be careful not to overcook it in Step 2 so it stays tender during the simmering process.
Delicious Variations
If you want to change things up, try these variations. For a “White Chicken Chili” vibe, omit the chili powder and diced tomatoes, and add an extra can of white beans along with a splash of milk or cream at the end. You can also swap the chicken for ground turkey for a similar lean profile. For those who love heat, add a chopped habanero or a teaspoon of cayenne pepper. You can also toss in extra vegetables like corn, zucchini, or kale to increase the micronutrient density of the meal.
Frequently Asked Questions
Q: Can I make this in a slow cooker?
Yes! Simply brown the chicken and sauté the onions first, then throw everything into the slow cooker. Cook on low for 6-7 hours or on high for 3-4 hours.
Q: Is this chili spicy?
As written, this recipe is mild to medium. The green chiles add flavor without too much heat. To make it milder, reduce the chili powder; to make it hotter, add red pepper flakes.
Q: Can I use rotisserie chicken?
Absolutely. Shred a pre-cooked rotisserie chicken and add it in Step 4. Since the chicken is already cooked, you can reduce the simmering time to 15 minutes.
Q: How can I make the chili even thicker?
The best way to thicken it naturally is to take a potato masher and mash about 1/4 of the beans directly in the pot. The released starches will thicken the liquid instantly.
Q: Can I use dried beans instead of canned?
Yes, but you must soak and cook the beans separately before adding them to the chili, as they won’t soften sufficiently in the 25-minute simmering time.
Conclusion
This High Protein Chicken Chili is proof that healthy eating can be incredibly delicious and filling. With its impressive protein count and rich, smoky flavor, it is a meal that will leave you feeling energized and satisfied. Whether you’re cooking for a crowd or prepping your meals for the week, this recipe is a guaranteed winner. Give it a try tonight and enjoy a bowl of pure, nutritious comfort!
High Protein Chicken Chili

- Cook Time: 50 minutes
- Total Time: 50 minutes
- Diet: High Protein, Heart-Healthy, Weight-Loss Friendly
Ingredients
- 1.5 lbs ground chicken or finely diced chicken breast
- 1 large yellow onion, diced
- 3 cloves garlic, minced
- 1 bell pepper (any color), chopped
- 1 can (15 oz) black beans, drained and rinsed
- 1 can (15 oz) white cannellini beans, drained and rinsed
- 1 can (14.5 oz) fire-roasted diced tomatoes
- 1 can (4 oz) chopped green chiles
- 2 cups low-sodium chicken broth
- 2 tbsp chili powder
- 1 tbsp ground cumin
- 1 tsp smoked paprika
- 1/2 tsp dried oregano
- Salt and black pepper to taste
- 1 tbsp olive oil
Instructions
- Step 1: Sauté the Vegetables Heat the olive oil in a large pot or Dutch oven over medium heat. Add the diced onion and bell pepper. Sauté for about 5 to 7 minutes until the onions are translucent and the peppers have softened. Stir in the minced garlic and cook for another 60 seconds until fragrant.
- Step 2: Brown the Chicken Add the ground chicken (or diced chicken breast) to the pot. Use a wooden spoon to break the meat apart. Cook until the chicken is fully browned and no longer pink. Season the meat lightly with salt and pepper during this process to ensure flavor in every layer.
- Step 3: Add Spices and Aromatics Sprinkle the chili powder, cumin, smoked paprika, and oregano over the meat and vegetable mixture. Stir well for 1-2 minutes to “toast” the spices, which helps release their essential oils and deepens the overall flavor of the chili.
- Step 4: Combine and Simmer Pour in the diced tomatoes, green chiles, black beans, white beans, and chicken broth. Stir everything together and bring the mixture to a gentle boil. Once boiling, reduce the heat to low and let it simmer uncovered for 20-25 minutes. This allows the liquid to reduce and the chili to thicken naturally.
- Step 5: Final Seasoning Taste the chili and adjust the salt and pepper if needed. If you prefer a thicker consistency, you can mash a few of the beans against the side of the pot with your spoon. Serve warm with your favorite toppings.