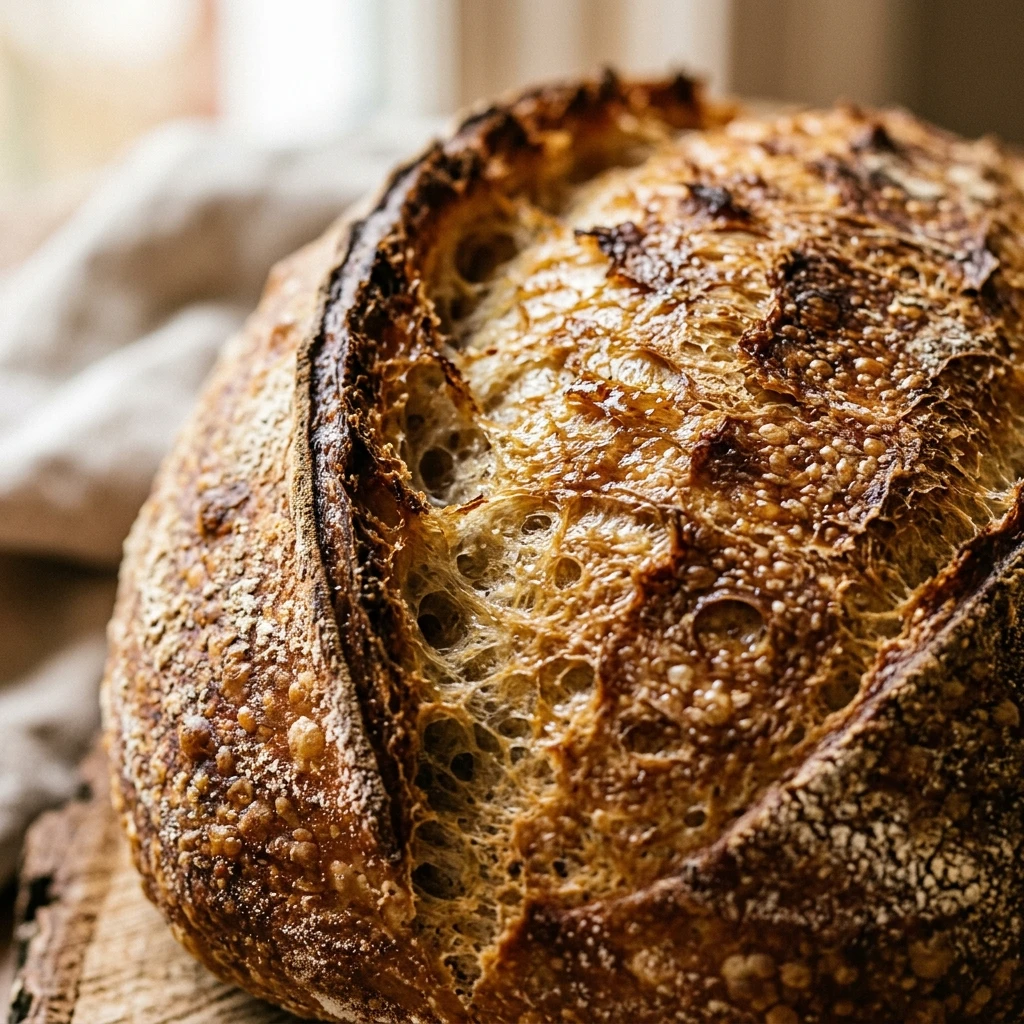

There is nothing quite like the aroma of a freshly baked loaf of sourdough bread wafting through your home. This ancient method of bread making relies on wild yeast and slow fermentation to create a loaf with a complex flavor and a perfectly chewy texture. While it might seem intimidating at first, mastering sourdough is a rewarding journey that connects you to the traditions of bakers from centuries ago.
The beauty of this sourdough bread recipe lies in its simplicity. With just flour, water, salt, and your active starter, you can create a professional-quality loaf that puts store-bought bread to shame. Whether you are a seasoned baker or a curious beginner, this guide will walk you through the process of creating a golden, crusty masterpiece with that signature tangy crumb.
Recipe Information
- Prep Time: 45 minutes (active work)
- Cook Time: 45 minutes
- Total Time: 22 hours 30 minutes
- Servings: 12 slices
- Difficulty Level: Medium
Nutrition Information
- Calories per serving: 185 kcal
- Protein: 6g
- Carbohydrates: 38g
- Fat: 1g
- Fiber: 2g
- Sugar: 0g
- Sodium: 380mg
Why Make This sourdough bread recipe
Making your own sourdough bread is incredibly satisfying and offers a depth of flavor that commercial yeast simply cannot match. The long fermentation process breaks down gluten and phytic acid, making the bread easier to digest for many people. Plus, there is a distinct sense of pride in knowing you created a beautiful loaf of bread from scratch using nothing but natural ingredients.
This recipe is designed to be reliable and consistent. By following the gentle stretching and folding techniques, you will develop a strong gluten structure that leads to those coveted airy holes in the crumb. It is a slow, meditative process that encourages you to slow down and enjoy the art of baking.
How to Make sourdough bread recipe
Get ready to transform simple ingredients into artisanal bread. Follow these detailed steps to ensure your dough rises beautifully and bakes into a stunning golden-brown loaf.
Ingredients
- 100g active sourdough starter (bubbly and fed)
- 350g warm water (around 80°F or 27°C)
- 500g high-quality bread flour
- 10g fine sea salt
Directions
Step 1: Mix the Dough
In a large glass bowl, whisk together your active sourdough starter and the warm water until the starter is mostly dissolved. Add the bread flour and salt. Use your hands or a sturdy spatula to mix until a shaggy dough forms and no dry flour remains. Cover the bowl with a damp cloth and let it rest for 30 to 60 minutes.
Step 2: Stretch and Fold
Instead of traditional kneading, we will use “stretch and folds” to build strength. Wet your hand, grab one side of the dough, pull it upward, and fold it over the center. Rotate the bowl and repeat this 4 times. Perform a total of 4 sets of stretch and folds, spaced 30 minutes apart. Cover the bowl between each set.
Step 3: Bulk Fermentation
After the final set of folds, cover the bowl tightly with plastic wrap or a damp cloth. Let the dough sit at room temperature for 6 to 10 hours. The dough is ready when it has grown about 50% in size, looks bubbly on top, and jiggles slightly when the bowl is shaken.
Step 4: Shaping the Loaf
Gently turn the dough out onto a lightly floured surface. Fold the edges toward the center to create a round shape. Flip the dough over so the seam is down. Using your hands, gently pull the dough toward you on the counter to create surface tension. Let it rest for 15 minutes, then repeat once more for a tighter shape.
Step 5: Cold Proofing
Place the shaped dough upside down into a floured proofing basket (banneton) or a bowl lined with a floured kitchen towel. Cover and place it in the refrigerator for 12 to 15 hours. This cold proofing stage develops the flavor and makes the dough easier to score before baking.
Step 6: Preheating and Scoring
Place a Dutch oven inside your oven and preheat it to 450°F (230°C) for at least 45 minutes. Carefully flip the cold dough onto a piece of parchment paper. Use a sharp blade or “lame” to make a deep slash across the top of the dough. This allows the bread to expand evenly in the oven.
Step 7: Baking
Carefully lower the parchment and dough into the hot Dutch oven. Put the lid on and bake for 20 minutes. The steam trapped inside helps create a thin, crispy crust. After 20 minutes, remove the lid and bake for another 20 to 25 minutes until the crust is a deep golden brown.
Step 8: Cooling
Remove the bread from the Dutch oven and place it on a wire cooling rack. It is very important to wait at least 1 to 2 hours before slicing. The bread continues to cook inside as it cools, and cutting it too early can result in a gummy texture.
How to Serve sourdough bread recipe
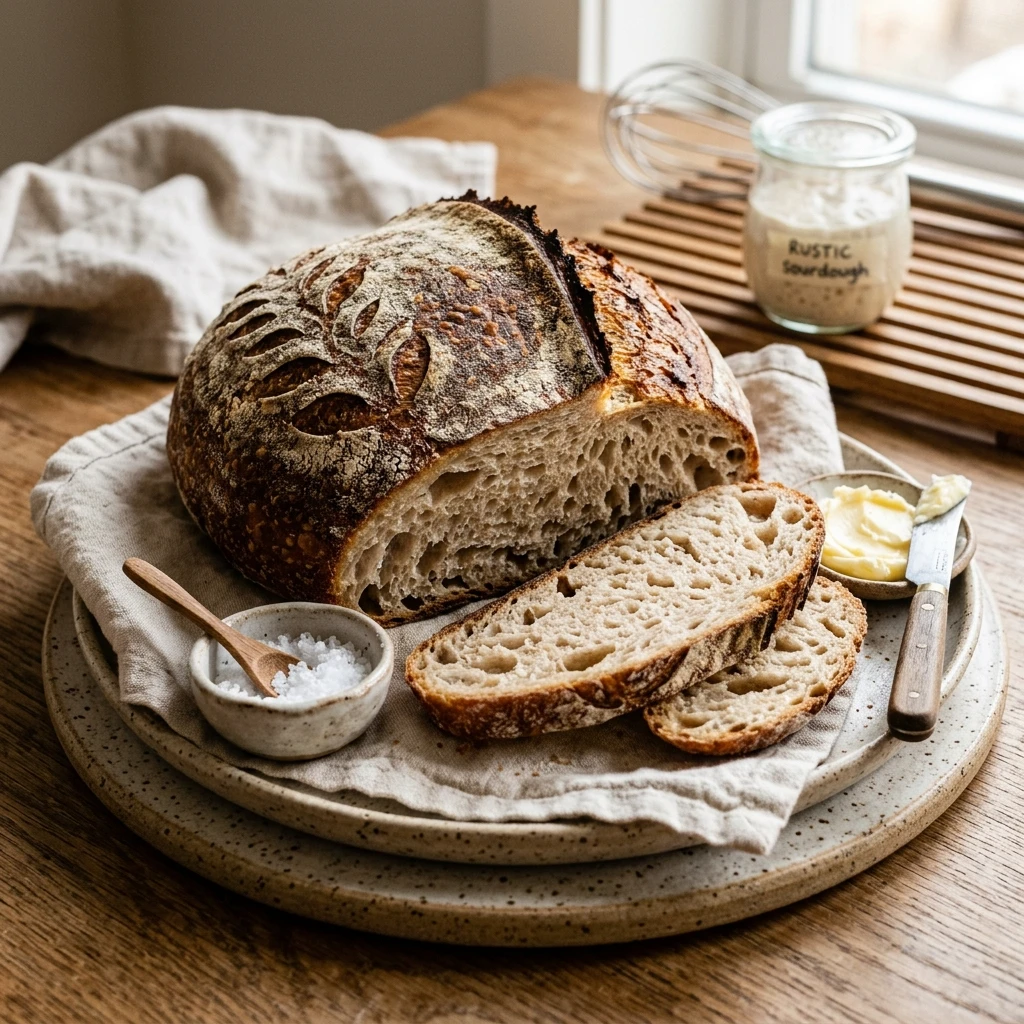
Sourdough is best served slightly warm or at room temperature. A thick slice slathered in high-quality salted butter is the ultimate simple pleasure. It also makes incredible avocado toast, grilled cheese sandwiches, or a side for hearty soups and stews. If the bread is a few days old, try toasting it to bring back that crunchy exterior and soft interior.
How to Store sourdough bread recipe
Keep your sourdough bread in a paper bag or wrapped in a clean kitchen towel at room temperature for up to 3 days. Avoid storing it in plastic bags, as this will make the crust soft. For longer storage, slice the loaf and freeze the slices in a zip-top bag. You can toast the slices directly from the freezer whenever you need a quick snack.
Expert Tips for Perfect sourdough bread recipe
Always use a digital scale to measure your ingredients by weight; volume measurements are too inconsistent for sourdough. Ensure your starter is “active,” meaning it has been fed recently and has doubled in size before you start the dough. If your kitchen is cold, your bulk fermentation will take longer, so look for the visual cues of the dough rather than just following the clock.
Delicious Variations
Once you master the basic loaf, try adding 1 cup of inclusions during the second set of stretch and folds. Popular options include roasted garlic and rosemary, cheddar cheese and jalapeños, or toasted walnuts and dried cranberries. You can also swap 100g of the bread flour for whole wheat flour or rye flour to add an earthy flavor and more nutrients.
Frequently Asked Questions
Q: Why did my bread not rise in the oven?
This is often due to an inactive starter or under-proofing. Make sure your starter is bubbly and strong before mixing. If the dough didn’t grow enough during the bulk ferment, it won’t have the energy to rise in the oven.
Q: Can I bake this without a Dutch oven?
Yes, you can bake it on a baking stone or sheet, but you will need to create steam in the oven by placing a tray of hot water on the bottom rack during the first 20 minutes of baking.
Q: My dough is too sticky to handle. What should I do?
Wet your hands with water instead of using more flour. Water prevents the dough from sticking to you without changing the hydration of the recipe. Sticky dough is normal for high-hydration sourdough.
Q: How do I know if my bulk fermentation is finished?
The dough should look aerated, have some visible bubbles on the surface, and should have increased in volume by about 50%. It should feel light and full of air when you touch it.
Q: Why is my crust too thick or hard?
This usually happens if the bread is baked too long without a lid or if the oven temperature is too low. Ensure your Dutch oven lid fits tightly to trap moisture, which keeps the crust thin and flexible while the bread expands.
Conclusion
Baking sourdough bread is a journey of patience and practice. While it takes time, the result is a flavorful, healthy, and beautiful loaf of bread that you can be proud of. Don’t worry if your first few loaves aren’t perfect; each bake is a chance to learn more about your starter and your dough. Keep practicing, and soon you will be baking artisanal sourdough that rivals any professional bakery!
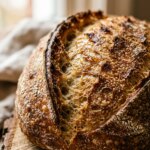
sourdough bread recipe
- Cook Time: 22 hours 30 minutes
- Total Time: 22 hours 30 minutes
- Diet: Vegetarian, Vegan
Ingredients
- 100g active sourdough starter (bubbly and fed)
- 350g warm water (around 80°F or 27°C)
- 500g high-quality bread flour
- 10g fine sea salt
Instructions
- Step 1: Mix the Dough
In a large glass bowl, whisk together your active sourdough starter and the warm water until the starter is mostly dissolved. Add the bread flour and salt. Use your hands or a sturdy spatula to mix until a shaggy dough forms and no dry flour remains. Cover the bowl with a damp cloth and let it rest for 30 to 60 minutes. - Step 2: Stretch and Fold
Instead of traditional kneading, we will use “stretch and folds” to build strength. Wet your hand, grab one side of the dough, pull it upward, and fold it over the center. Rotate the bowl and repeat this 4 times. Perform a total of 4 sets of stretch and folds, spaced 30 minutes apart. Cover the bowl between each set. - Step 3: Bulk Fermentation
After the final set of folds, cover the bowl tightly with plastic wrap or a damp cloth. Let the dough sit at room temperature for 6 to 10 hours. The dough is ready when it has grown about 50% in size, looks bubbly on top, and jiggles slightly when the bowl is shaken. - Step 4: Shaping the Loaf
Gently turn the dough out onto a lightly floured surface. Fold the edges toward the center to create a round shape. Flip the dough over so the seam is down. Using your hands, gently pull the dough toward you on the counter to create surface tension. Let it rest for 15 minutes, then repeat once more for a tighter shape. - Step 5: Cold Proofing
Place the shaped dough upside down into a floured proofing basket (banneton) or a bowl lined with a floured kitchen towel. Cover and place it in the refrigerator for 12 to 15 hours. This cold proofing stage develops the flavor and makes the dough easier to score before baking. - Step 6: Preheating and Scoring
Place a Dutch oven inside your oven and preheat it to 450°F (230°C) for at least 45 minutes. Carefully flip the cold dough onto a piece of parchment paper. Use a sharp blade or “lame” to make a deep slash across the top of the dough. This allows the bread to expand evenly in the oven. - Step 7: Baking
Carefully lower the parchment and dough into the hot Dutch oven. Put the lid on and bake for 20 minutes. The steam trapped inside helps create a thin, crispy crust. After 20 minutes, remove the lid and bake for another 20 to 25 minutes until the crust is a deep golden brown. - Step 8: Cooling
Remove the bread from the Dutch oven and place it on a wire cooling rack. It is very important to wait at least 1 to 2 hours before slicing. The bread continues to cook inside as it cools, and cutting it too early can result in a gummy texture.